Showing posts with label high school. Show all posts

Saturday, September 14, 2013

Review: Revlon Photoready Cream Blushes

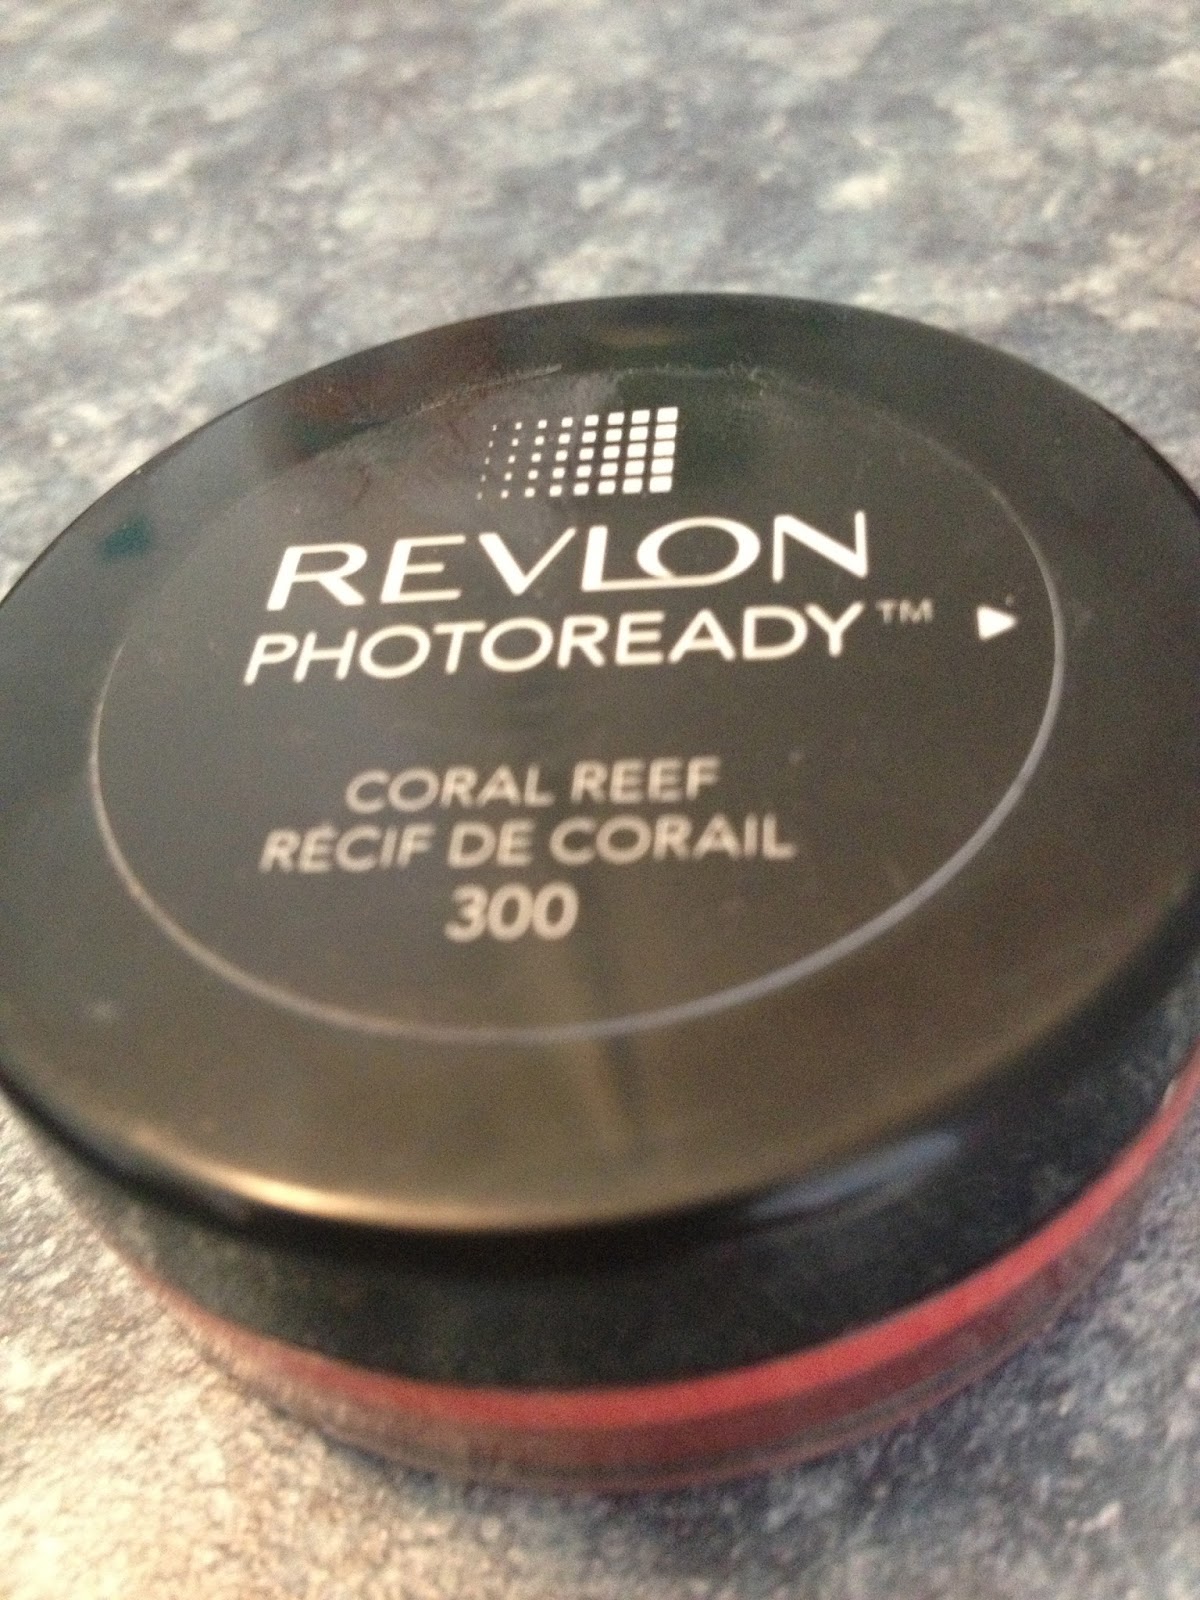
Hey everyone! Today I have another review for you! These are the Revlon Photoready cream blushes. So, these come in three colors: Pinched, Flushed, and Coral Reef, and I managed to snag all three of them! These run from about $10-$13. I picked one up at Rite Aid, with a buy one get one 50% off coupon, and then I grabbed the other two on sale for about $5, so not a bad deal at all. I love these blushes. They are sooo pigmented, and whats great about them, is you can build them up from a sheer finish, to a dramatic one, depending on what you like. The staying power is great, and I usually like to set these with my ELF blushes. To apply these I just create three dots of product along my cheekbones, and then blend. If I feel like the coverage is too light, I just add another layer. It's that easy! These blushes are my everyday go to blushes, and with just these three, you'll have one for every look. Even though they are a bit expensive for a drugstore product, a little goes a long way, and these are the only blushes that you'll need.

Coral Reef- Bright orange coral color, blends to a sheer coral, can be built up to almost a florescent orange
Pinched- Light peachy color, very natural looking. Perfect for a no makeup-makeup look. Can be built up to be just the tiniest bit dramatic
Flushed- Hot pink color, goes on very pink, use a light hand, unless your going for a doll-like look. Still really love the product.


Top to Bottom: Coral Reef, Pinched, Flushed

Top of the packaging.


Top to Bottom: Flushed, Coral Reef, Pinched

Top to Bottom: Pinched, Coral Reef, Flushed

Thanks for taking the time to check out my blog! I appreciate all feedback that you guys can give me!

xx

Friday, September 13, 2013

Walk Like an Egyptian: Halloween Makeup Tutorial

Hey guys! Today, I have a tutorial for you! Yay my first tutorial! This is a really simple tutorial for if your going to a halloween party, and it's not too much! Please, please, please, give me as much feedback as you can! I really want to make my posts as good as I can. I'm sorry for the pictures, some of them its hard to depict what I actually did, but feedback can help me! If you have any suggestions for the pictures, I'm open, as I am a newbie! Lets get into the tutorial!


First start off by priming your eyes. I used the ELF eyelid primer,
 it's only $1 and it works well, and has great staying power!

Next I swept Bootycall from the Naked 2 Palette all over
 the lid up to my brow bone to just start off with a nice wash of color, and the good
 thing is, if you mess up, just sweep some Bootycall right over the mistake!

Next, I put a color from another Urban Decay palette
into my crease. The color is Honey and it's a nice
shimmery yellow color, it gives the look a
little pop.

Next, from the Naked 2 palette, I mixed Tease and Snakebite,
putting that into my crease as well, but focusing that
more on the outer V.

Next I lined my eye with a thick liquid liner,
and created a pretty large wing, and you can't tell
from this picture but I also lined the outer half
of my lower lash like, creating a small wing under
the bigger one.


I then took Peace, from the second Palette and
put that on the inner half of my lower lash
line, blending the liner and shadow as best
as I can.

Then I took a Wet N' Wild teal liquid liner and just dotted
that under the black liner on my lower lash line.

I then filled in my brows with Tease and Busted, to create
a very dark brow, for a more egyptian feel.


The last step is add Revlon Photoready 3-D volume
mascara to your top and bottom lashes.

And your finished! I like you all liked my tutorial thanks for checking in!

Thursday, September 12, 2013

Review: L'Oreal Total Repair 5 damage erasing balm

Alright guys, confession... I straighten my hair pretty much every single day.. I know, I know, it's super bad, but I honestly hate my natural hair. It's really... Big. I like having nice, sleek hair that's easy to manage and looks nice, so I straighten it. The only bad thing about this is my hair gets damaged very easily , and within a week of getting my hair cut, it's rough and feels damaged. I know I should use a heat protectant, but honestly... I forget. So, I started looking for something that could reverse damage, and voila! I found this! 

This product works like a dream. All you have to do is, after your done washing your hair, grab a glob of this and work it through the ends of your hair. Wait about 5 minutes and rinse it out. That's it. You'll notice an immediate difference in the texture of your hair after the first use. It's almost like it seals the split ends. My hair is so much easier to brush now, and it's very soft and smooth! When I straighten it, it looks like I just got a haircut that day, and it feels like it too. The greatest thing about this product? You can get it for about $5-$7 at the drugstore and that lasts a pretty long time! I've had mine for maybe a month and I use it everyday and I'd say I'm about half done with it. Now, if you don't straighten your hair or your hair isn't as bad as mine was, you don't have to use it everyday, and once a week will suffice, but I prefer to use mine like a conditioner. I hope you guys enjoyed this post! Let me know what your favorite hair products are below! 

Xoxo