Showing posts with label blogger. Show all posts

Sunday, October 13, 2013

Princess Jasmine Halloween Tutorial

Hey guys! So I'm finally back, and with a super fun post this time! A halloween tutorial! This one is inspired by the Disney Princess Jasmine who is my all time favorite princess. I'm a Disney junkie for sure. I own all the classics on VHS and I've been to Disney world 8 times. My all time dream is to work there as one of the Disney Princesses, and that is a possibility for me once I've graduated high school. Some more big news, I turn 16 in exactly a week! I'm having a sweet sixteen party that's Mardi Gras themed and I can't wait! My dress is GORGEOUS and my grandmother is making it. It's sparkly and gold, and my heels are classic black patent leather. I will definitely being doing an outfit of the day that day. Let me know if you guys want to see how I'm doing my makeup because I can definitely make a tutorial for that! I'll be sure to post pictures from the party! But for now, lets get going on this tutorial!
First start off with an au naturale face


Next, do your usual face routine.  I use Maybelline Dream Fresh
BB cream, and milani highlighter, and Rimmel Stay Matte Powder

Then I used the Lorac TANtalizer to make my face look darker
just like Jasmine

Next I'm using Blackout from Naked 2 to do my eyebrows.
 I know these look crazy but, these are cartoon eyebrows,
so you can tone them down if you want!


Next I took this white ultra crayon and placed it all over my lid and blended
it in, using it as a base


I took the color my brush is pointing at from the BH cosmetics 120 3rd edition
palette and placed it on my eyelid


Then I took Peace from a limited edition Urban Decay
palette and place it right on top to make it pop a little
more


Then with a small contour brush, I took this color and put
that in the crease. For this I used scotch tape to create a sharp line,
as you can see in the picture below so that it looks cleaner and more
princess like.


Next I took this purple from the same BH cosmetics palette, and I placed it
in my crease but I didn't blend it, I just patted it on, to give a little more color.


Next I took this cream eyeshadow from Ulta in the color
Shimmering Topaz and with the smudge brush I dragged that
across my lower lash line, This is key because it really brings
together the entire look in my opinion.


Next,  I reapplied to tape to that sharp like and applied a
thick cat eye. I reapplied the tape so that I could make the wing
go along the shadow line

Next, I took Verve and applied it under my brow bone

Self- Explanatory. I applied my favorite mascaras, I would suggest
falsies for this, but I didn't have any on hand so I made do with
what I had

Next I applied a dark plum lipstick from MAC, and I have
no idea what it's called... Sorry!

And your done!


Thank you for stopping by my blog! Please subscribe! Let me know what halloween tutorial you would like to see and I will be sure to do it!

Sunday, September 22, 2013

Twitter

Hey guys!!! I just have a quick announcement..... I now have a twitter!!!!! You can probably tell by the title... Lol. Anyways! This is so you can connect with me directly and if I do a 500 subscriber giveaway, you can enter through there! Speaking of which.. I may be doing a 500 subscriber giveaway, so tell all your friends to subscriber to me! All you have to do is post a Facebook status, easy as pie! Also! Let me know what you think the prizes for my giveaway should be! Alright, I love you guys so follow me on twitter @mintprincessxo and hit that subscribe button!!!

Saturday, September 21, 2013

Fall Trend Alert: Plum Lips

Hey Guys! Sorry for the lack of posts this week! Between school and soccer, I find that I don't have any time to get together a post for you guys! I can't even begin to think about next week when I have 5 soccer games! Anyways, my weekend is pretty free so I'm going to be getting a few posts up! Here's the first:

Because of my skin tone, I just discovered that I love the look of plum lipstick on me. I have never tried anything this dark, but I always found that light lip colors made me look dead and washed out :( I was jealous of all the beauty gurus that could pull off all those gorgeous lip colors that I couldn't! But, the other day I was at a friends house and I tried one of her plum lipsticks and I immediately fell in love! This was perfect! I found a color that looked good on me and it was perfect for the fall time! I immediately went to the store and picked up two plum colors. The third was one that had been lying around in my house. I think the reason why plums are so great for fall is because were just getting into the darker months, and wear lip colors that portray that is what it's all about.I guess fall will have to be my favorite season now that my favorite lip color is worn for it! Now here are the pictures!


Here's the first one! This one's a Revlon Lip Butter

Here's what it looks like in the packaging

I really like the look of these because they're like lip glosses but also like a lipstick and they're super moisturizing

I like this one because it's like my lips but better and is very subtle.

The color is Sugar Plum

Burt's Bees

Plum

This one is a tad darker and is has a minty feeling on your lips

... and the swatch!

MAC lipstick!

Super used up, but the name wore off so I don't know it! Sorry!

Very dramatic and dark! Would be so nice for a party!

So pretty!

Thanks for checking out my blog! What's your favorite fall trend? Leave the answer in the comments! Hit that subscribe button!

XX, Mintprincessxo

Saturday, September 14, 2013

Review: Revlon Photoready Cream Blushes

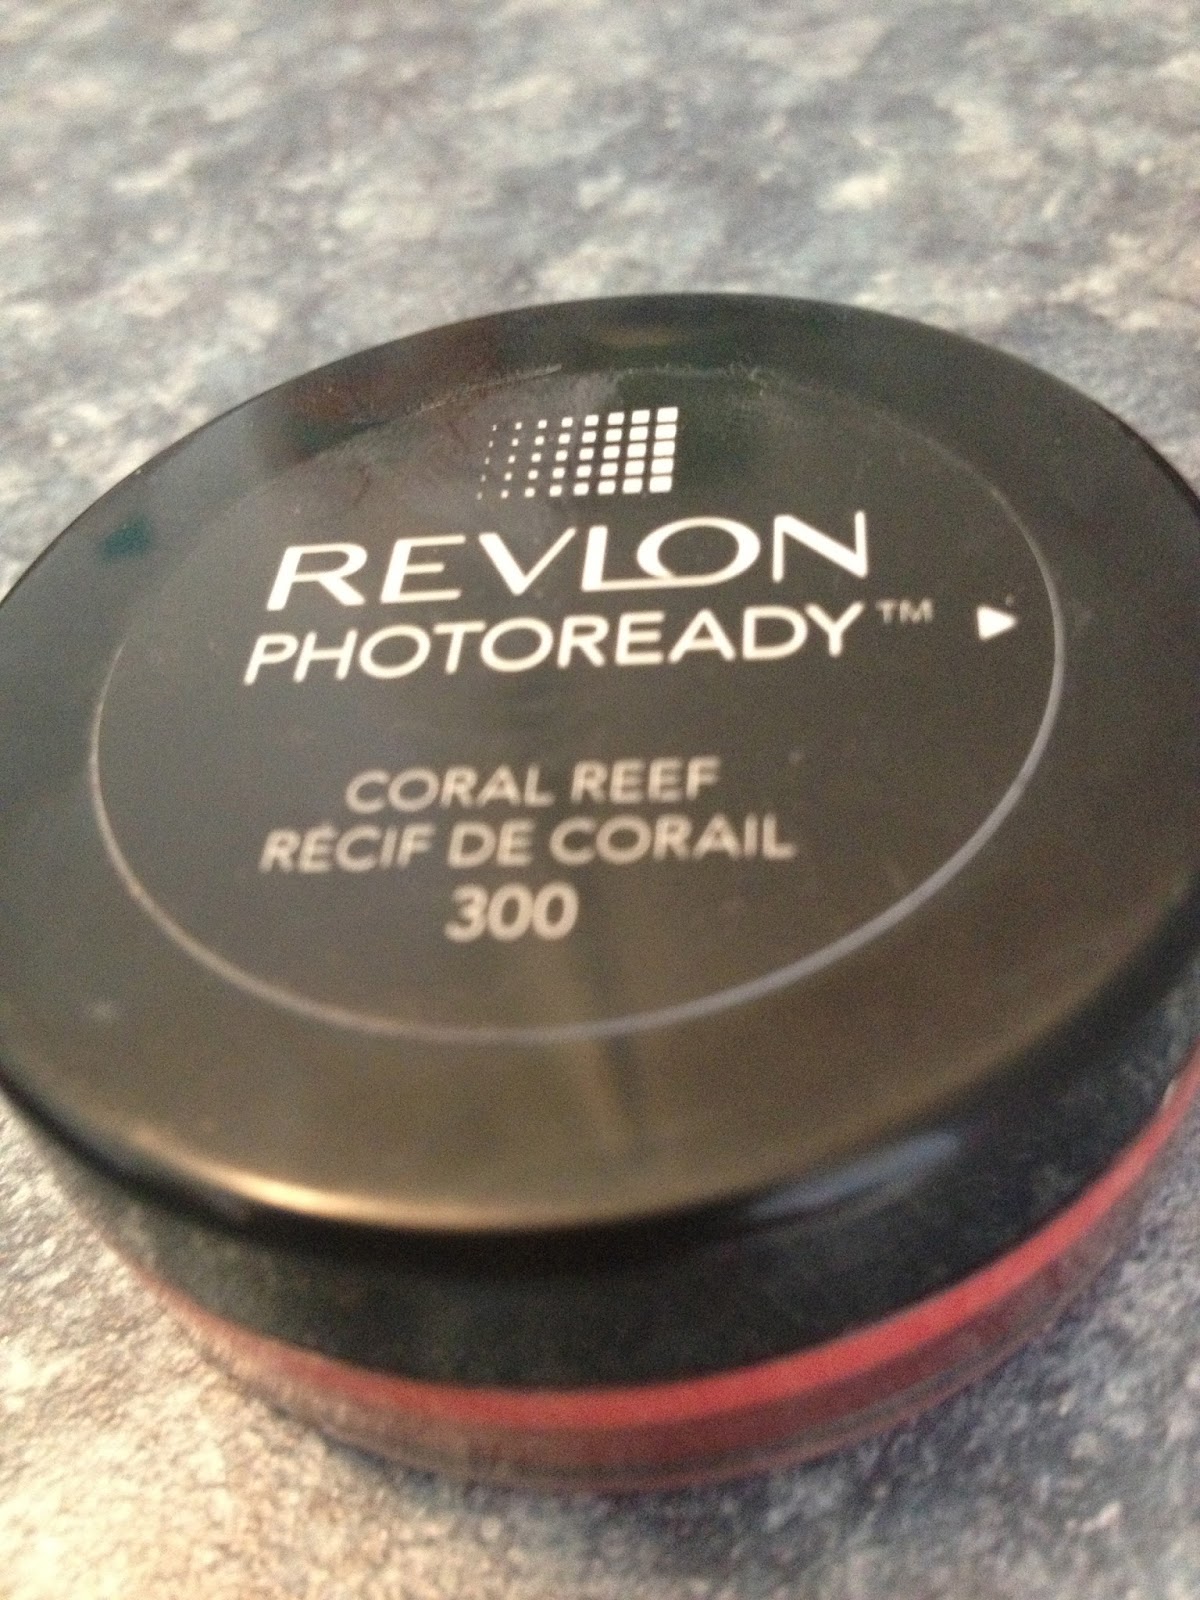
Hey everyone! Today I have another review for you! These are the Revlon Photoready cream blushes. So, these come in three colors: Pinched, Flushed, and Coral Reef, and I managed to snag all three of them! These run from about $10-$13. I picked one up at Rite Aid, with a buy one get one 50% off coupon, and then I grabbed the other two on sale for about $5, so not a bad deal at all. I love these blushes. They are sooo pigmented, and whats great about them, is you can build them up from a sheer finish, to a dramatic one, depending on what you like. The staying power is great, and I usually like to set these with my ELF blushes. To apply these I just create three dots of product along my cheekbones, and then blend. If I feel like the coverage is too light, I just add another layer. It's that easy! These blushes are my everyday go to blushes, and with just these three, you'll have one for every look. Even though they are a bit expensive for a drugstore product, a little goes a long way, and these are the only blushes that you'll need.

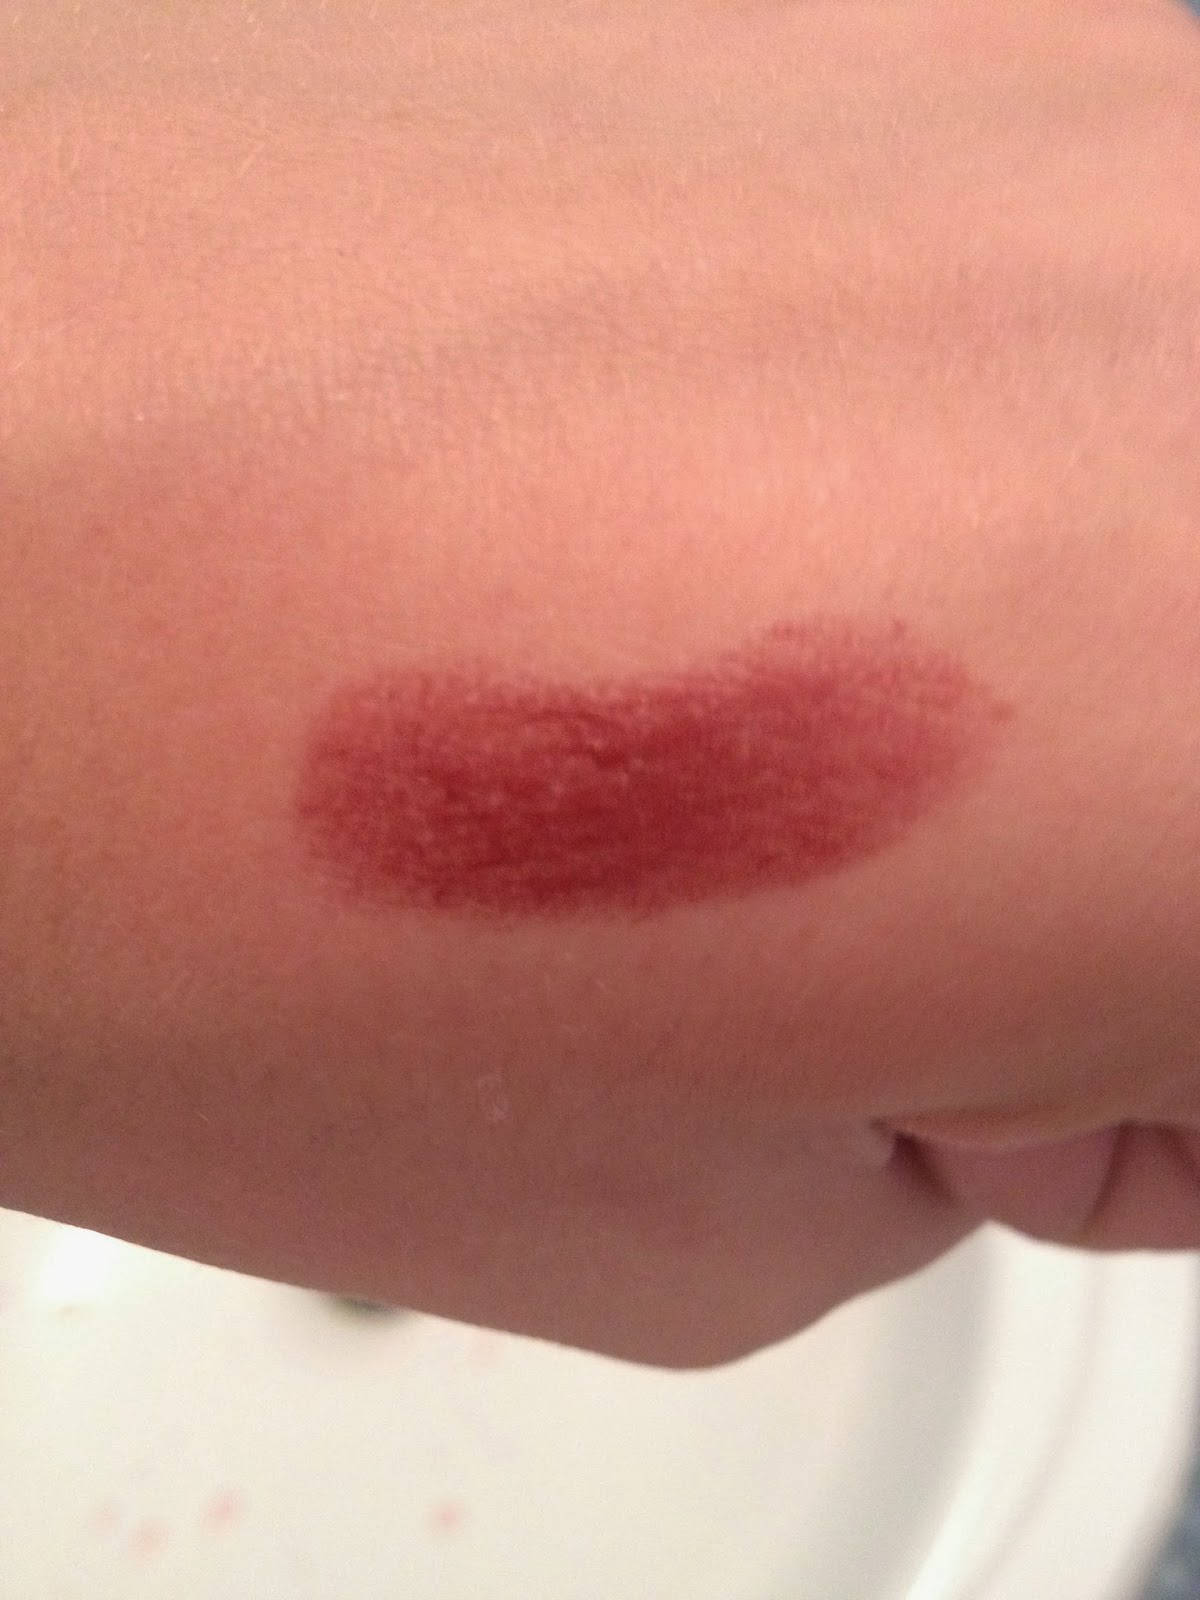
Coral Reef- Bright orange coral color, blends to a sheer coral, can be built up to almost a florescent orange
Pinched- Light peachy color, very natural looking. Perfect for a no makeup-makeup look. Can be built up to be just the tiniest bit dramatic
Flushed- Hot pink color, goes on very pink, use a light hand, unless your going for a doll-like look. Still really love the product.


Top to Bottom: Coral Reef, Pinched, Flushed

Top of the packaging.


Top to Bottom: Flushed, Coral Reef, Pinched

Top to Bottom: Pinched, Coral Reef, Flushed

Thanks for taking the time to check out my blog! I appreciate all feedback that you guys can give me!

xx

Thursday, September 12, 2013

Review: L'Oreal Total Repair 5 damage erasing balm

Alright guys, confession... I straighten my hair pretty much every single day.. I know, I know, it's super bad, but I honestly hate my natural hair. It's really... Big. I like having nice, sleek hair that's easy to manage and looks nice, so I straighten it. The only bad thing about this is my hair gets damaged very easily , and within a week of getting my hair cut, it's rough and feels damaged. I know I should use a heat protectant, but honestly... I forget. So, I started looking for something that could reverse damage, and voila! I found this! 

This product works like a dream. All you have to do is, after your done washing your hair, grab a glob of this and work it through the ends of your hair. Wait about 5 minutes and rinse it out. That's it. You'll notice an immediate difference in the texture of your hair after the first use. It's almost like it seals the split ends. My hair is so much easier to brush now, and it's very soft and smooth! When I straighten it, it looks like I just got a haircut that day, and it feels like it too. The greatest thing about this product? You can get it for about $5-$7 at the drugstore and that lasts a pretty long time! I've had mine for maybe a month and I use it everyday and I'd say I'm about half done with it. Now, if you don't straighten your hair or your hair isn't as bad as mine was, you don't have to use it everyday, and once a week will suffice, but I prefer to use mine like a conditioner. I hope you guys enjoyed this post! Let me know what your favorite hair products are below! 

Xoxo